
Alocasia Corm Propagation
There are one million Alocasia corm planting tutorials out there (ever since it became the cool kid thing to do, every influencer claims to be a corm professional); but this is something more comprehensive: a list of things to avoid doing, in order to ENSURE your success. This info is based on the hundreds upon hundreds of corms I’ve sprouted in my corm growing career. You can trust me, I have my PhD in corm growing and cormy jokes.
8 Possible Reasons Your Corm Isn’t Sprouting:
* The term corm will be used here and throughout my book, The Ultimate Guide to Houseplant Propagation as this is the most widely recognized botanical descriptor for these otherwise formally undefined underground storage nuggets.. They are also referred to as bulbs and in my research I found that they were also referred to as bulbils, tubercles or cormels by various botanists and taxonomists throughout their research papers. Call them what you want, but don’t call them little turd buttons. That would be completely unacceptable.
1. You didn’t give it enough time
The amount of time it takes for an Alocasia corm to sprout depends on the size of the corm (maturity), the species, the humidity, the substrate you used and whether or not you peeled it first. Feel the corm: is it still firm like a rock? If it’s still plump and firm (and not dried out like a prune or mushy), your corm is just torturing you, taking its time. Try peeling the outer brown sheath off with a (sterilized) plastic gardening tag or credit card, putting some rooting hormone powder on it, and go on a Buddhist meditation retreat to work on your patience.
"The two most powerful warriors are patience and time " - Leo Tolstoy, War and Peace
“This corm better hurry up and fucking grow” -Every plant parent, ever

Three healthy corms to show to your sad corm as inspiration to get its damn act together while you’re on your meditation retreat.
2. It may have dried out
Do not let your corms dry out/ sit out dry on a table for an extended period of time if you’re trying to get them to grow roots and shoots. They will shrivel like a prune and that will be the end of it. Game over. Also, no matter what method you are using for propagation, make sure sure the substrate NEVER DRIES OUT. If you are propagating in Fluval Stratum, sphagnum moss, in a puddle of water, or the tears of a privileged white man: DO NOT LET IT DRY OUT COMPLETELY.
3. The substrate didn’t have enough air
I am starting to see people calling the act of opening a propagation container to let fresh air in “burping” your prop on social media, and I don’t know if I hate it or love it…but it works. Oxygen helps roots to grow through a process called respiration, and also creates an “aerobic” environment in the substrate that you’re using which prevents your corm from rotting! I’m not quite sure if frequent “burping”/ letting fresh air into your corm propagation container is ultra necessary to be honest (because I hardly do it and my corms grow just fine), but it surely it’s a nice-to-have and will clear out excess condensation inside the walls of your container if there is any. What is necessary is that your substrate is well oxygenated during the sprouting process.
Allowing air into the SUBSTRATE means:
- If using the puddle method of propagating in a little puddle water, you don’t want the water to get stagnant. Change the water every once in a while to fresh water. Even though it works well, I am personally not a fan of the puddle method because it’s a pain in the ass to have to watch the water levels in case it dries out and monitor it for becoming stagnant. I like to set-it-and-forget-it when propagating!
- If propagating in sphagnum moss, keep it light and fluffy and only as moist as a wrung-out sponge
- If propagating in fluval stratum or perlite you are set as air pockets are naturally built into the spaces between the granules. If you’d like to learn more about growing plants in Fluval Stratum (my fav way to grow corms) listen to my podcast episode on Maria Fallia’s Growing Joy Podcast.

I love propagating corms in moist sphagnum moss and perlite mixed 50/50. This type of mix provides plenty of air pockets. The top is sealed for humidity which speeds the rooting process up.
4. Your hands were dirty
It’s possible you didn’t clean your hands before planting and accidentally contaminated the substrate and corm surface. Best practice: spray your hands with rubbing alcohol before handling corms or wash your hands with soap and water. If you drop your corms somewhere dirty and you want to be extra cautious about cleaning them off, you can soak them first for at least 15 minutes in a solution of 1 part 3% hydrogen peroxide to four parts water to clean them off a bit (this is not something I do as standard practice however).
5. You didn’t peel
You did not peel the outer (brown) layer of your corms first before planting. Peeling your corms isn’t 100% necessary, but speeds up the rooting process tremendously and does not hurt the corm AT ALL when done with a clean plastic plant tag, credit card or finger nail. The faster the corm produces roots, the quicker it will begin to take up water on its own and become a self-sufficient plant (as opposed to just an underground plant storage structure) and less of a chance it will rot as a lonely underground storage nugget.
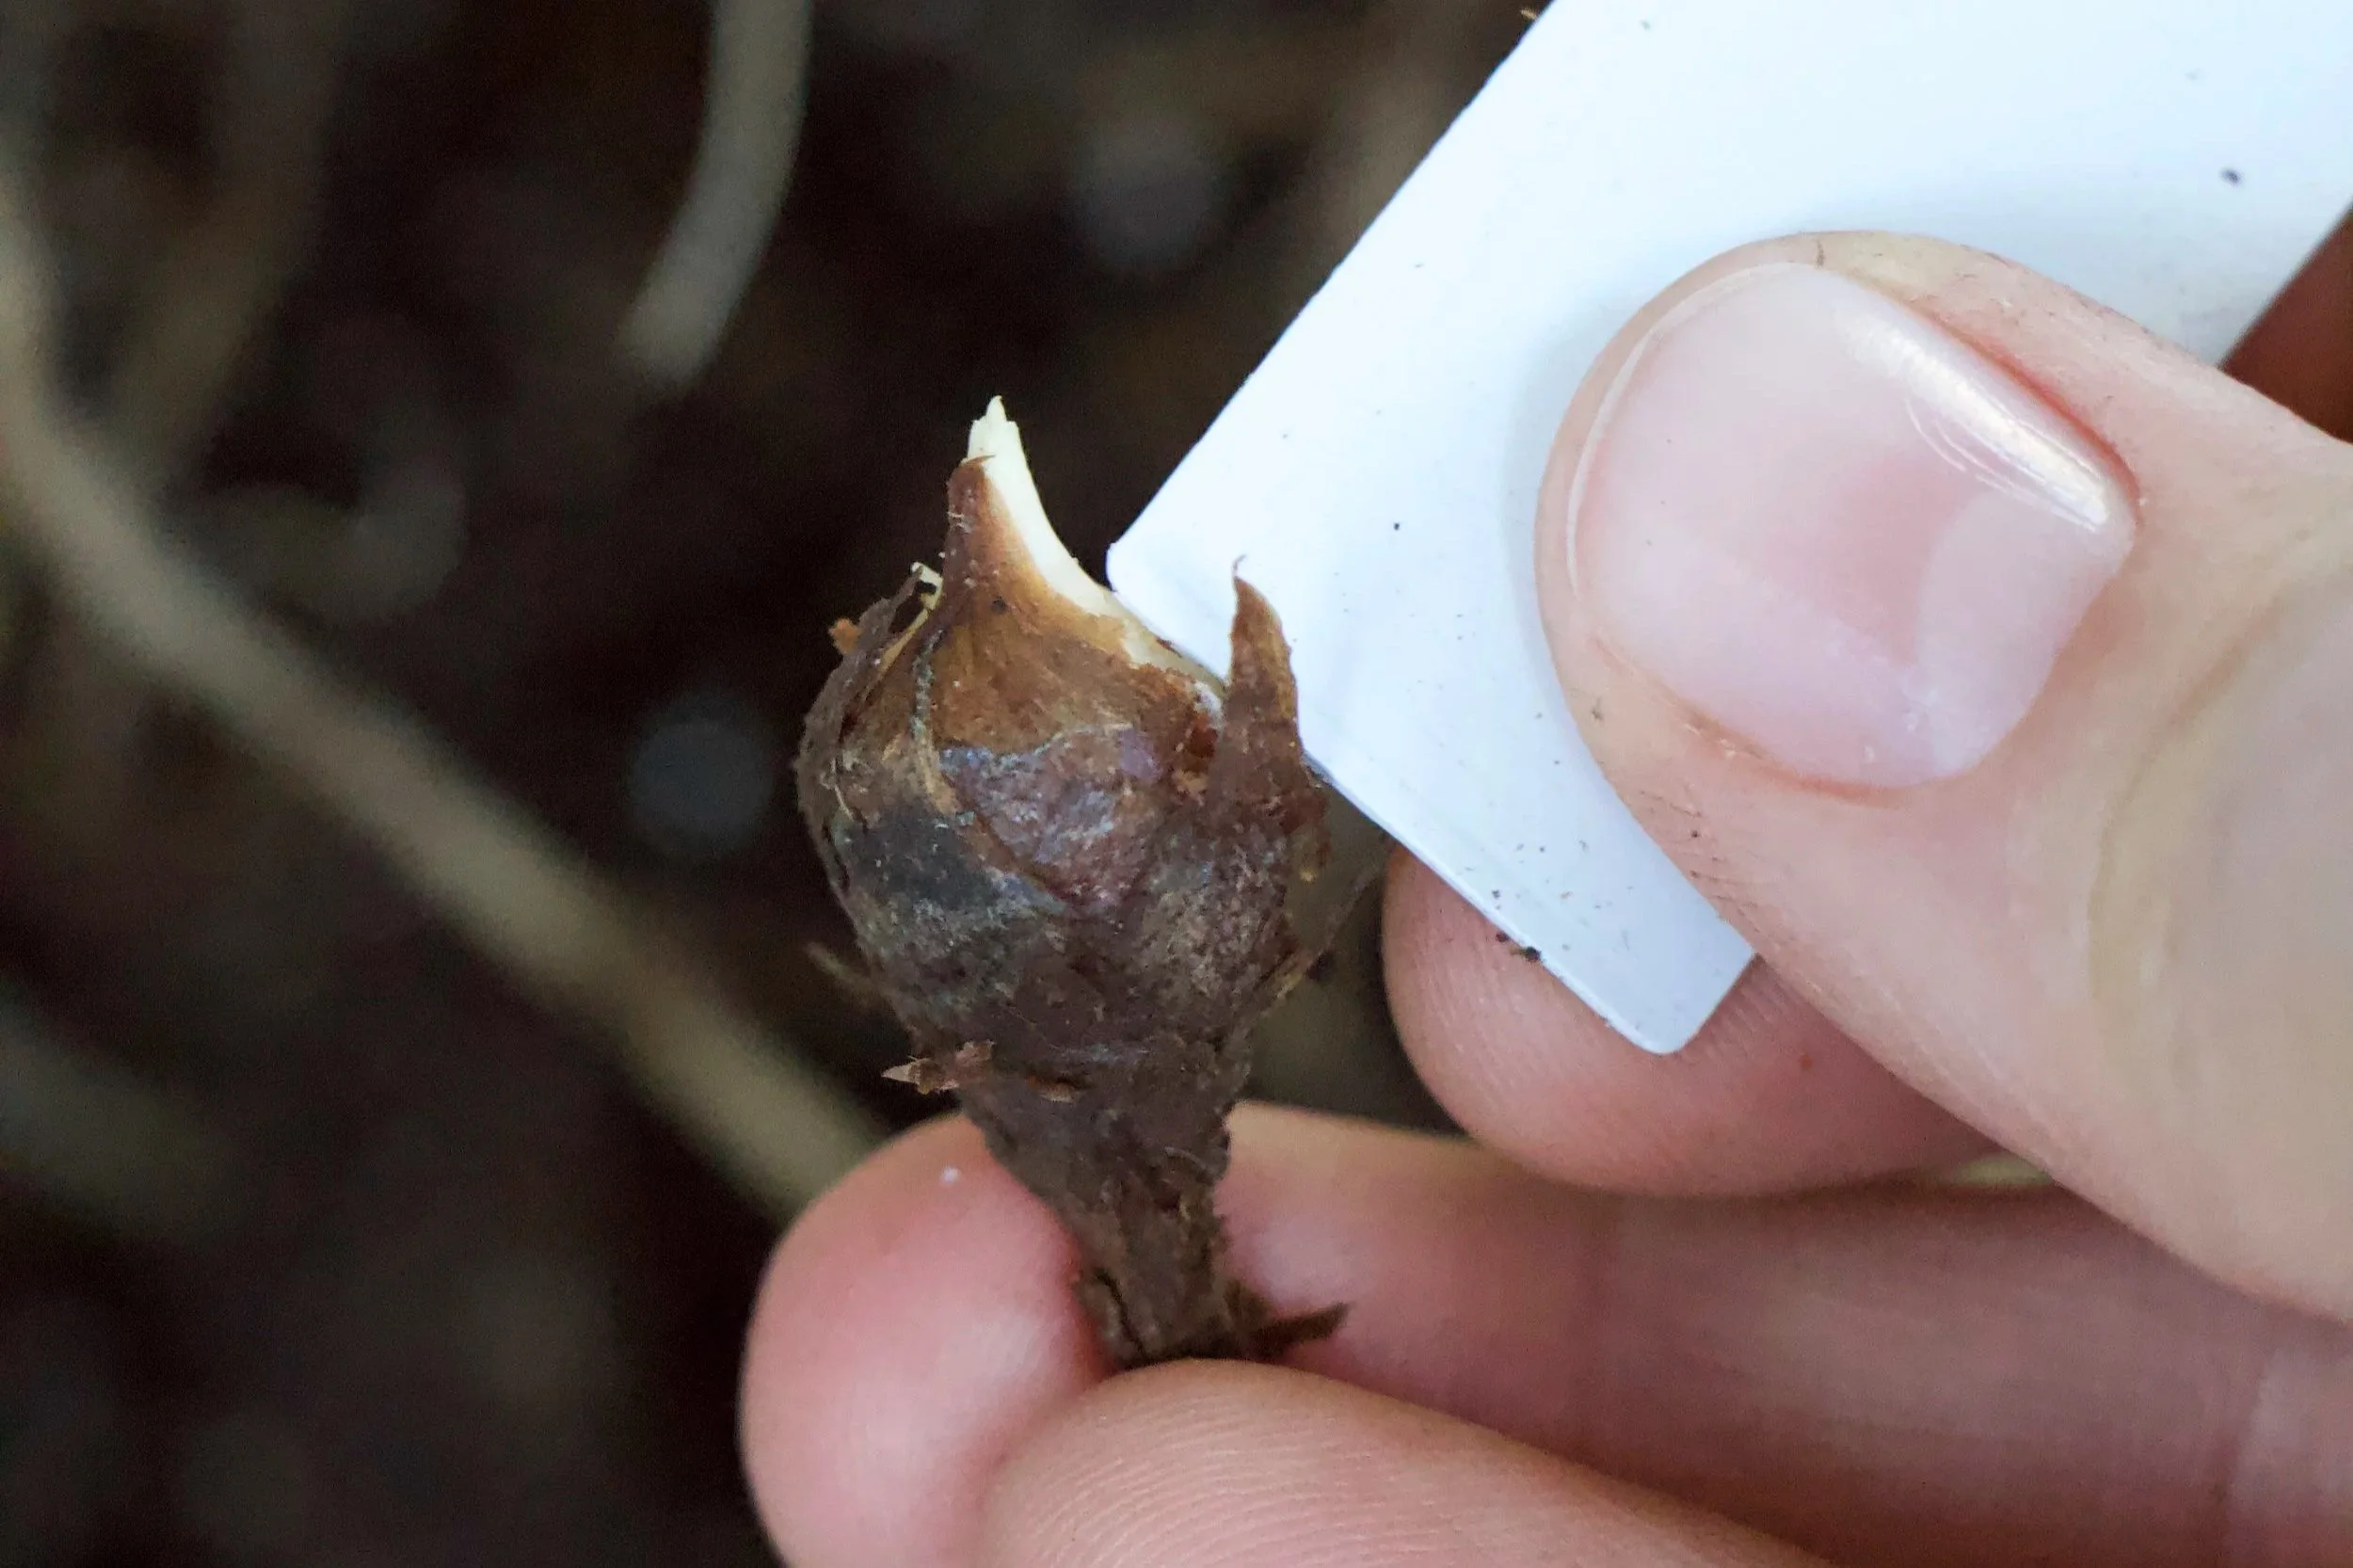
I almost always peel my corms with a plant tag. I’ve done numerous experiments with peeling versus non peeling, and peeling always results in faster rooting corms.
6. You planted it upside down
Upside down pineapples are for swingers and consensual sexual encounters. Upside corms just make it harder for your Alocasia to grow. Just remember: the pointiest part to the sky, ideally JUST the tiny tip sticking out of the substrate. Where the stolon (stem) came from goes down towards the ground.
7. You got a bad corm
Sometimes this happens to the kindest of souls! Survival of the fittest. Not all seeds were meant to sprout. Nature is cruel and beautiful. Perhaps your corm was mushy and rotted in the begging and you didn’t notice. Once a corm starts to mush and rot it’s typically a goner. Try again with another!
8. You didn’t listen to
This episode of Growing Joy with Maria where the planty famous Maria Fallia interviews me about everything Alocasia corm propagation. If you want to skip to the “how to do it” part you can start about a third of the way in.

9. You didn’t read my award winning book, The Ultimate Guide to Houseplant Propagation which teaches you how to grow Alocasias from corm step-by-step as well as how to rehab struggling plants. You can buy a signed copy from me here, or check it out on amazon.com !
I hope you found this post useful! <3 XO
I usually have corms available for sale on my shop on this website and more lately on my Etsy shop. You can trust if they are from me, they will come well packaged and from prolific, beautiful mother plants. I post as they become available.
Lindsay