
9 Steps to Save Your Struggling Houseplant
Propagation as Plant Rehabilitation
In my book, The Ultimate Guide to Houseplant Propagation, and recently, on episode 318 of Jane Perrone’s Podcast, On the Ledge ,I discuss the idea of using propagation techniques to freshen up or rescue your houseplants that are riding the struggle bus or maybe on the fast track to the compost. Here I’m going to lay out that process step-by-step. No matter where your plant is on the spectrum of “needs a little pruning” to “we should really start making funeral arrangements,” having some houseplant propagation tricks up your gardening sleeve will help keep your plant afloat and looking fresh.
Outlined below is my process for using Houseplant Propagation to Rehab your Struggling Plant:
Supplies Needed:
1. A magnifying glass
2. A scalpel or cutting shears
3. Rubbing alcohol
4. Rooting hormone gel or powder (optional)
5. Fluval stratum and perlite (or LECA or Lechuza pon) or moist sphagnum moss mixed with perlite
6. Maybe prop box
7.Clear plastic drink cup and/or small pots
1. Step One: Observe Your Plant’s Structure and Environmental Conditions
This is where we make general observations about everything ABOVE the soil / substrate. The fix may be a very simple, quick one that doesn’t require you to proceed with steps 2-8 !
Potential observation: Is your tropical plant long and lanky?
Plant Example 1 : Your fiddle leaf fig now looks like a couple sad green fiddles (leaves) on top of a long brown stick. Cute, but offensive.
Suggested Propagation Fixes
Behead it (chop the top of the plant off; just chop the top of your plant off and don't believe me, ask @happyhappyhouseplant on Instagram) and propagate the top in sphagnum moss. The bottom stick - and yes it’s ok if all that’s left is a little stick on the bottom - will grow new leaves and probably multiple branches as long as roots are healthy and you continue to take good care of it!
Air layer it. This is arguably much more complicated than the above technique, but fun to try.
Plant Example 2 :Your climbing Philodendron Pink Princess lost its bottom leaves over time and looks like a long maroon stem with only leaves on top. That's offensive!
Suggested Propagation Fixes
Behead it and propagate the top in moist sphagnum moss.
Air layer a node with sphagnum moss and then behead it.
Single node propagation in a prop box.
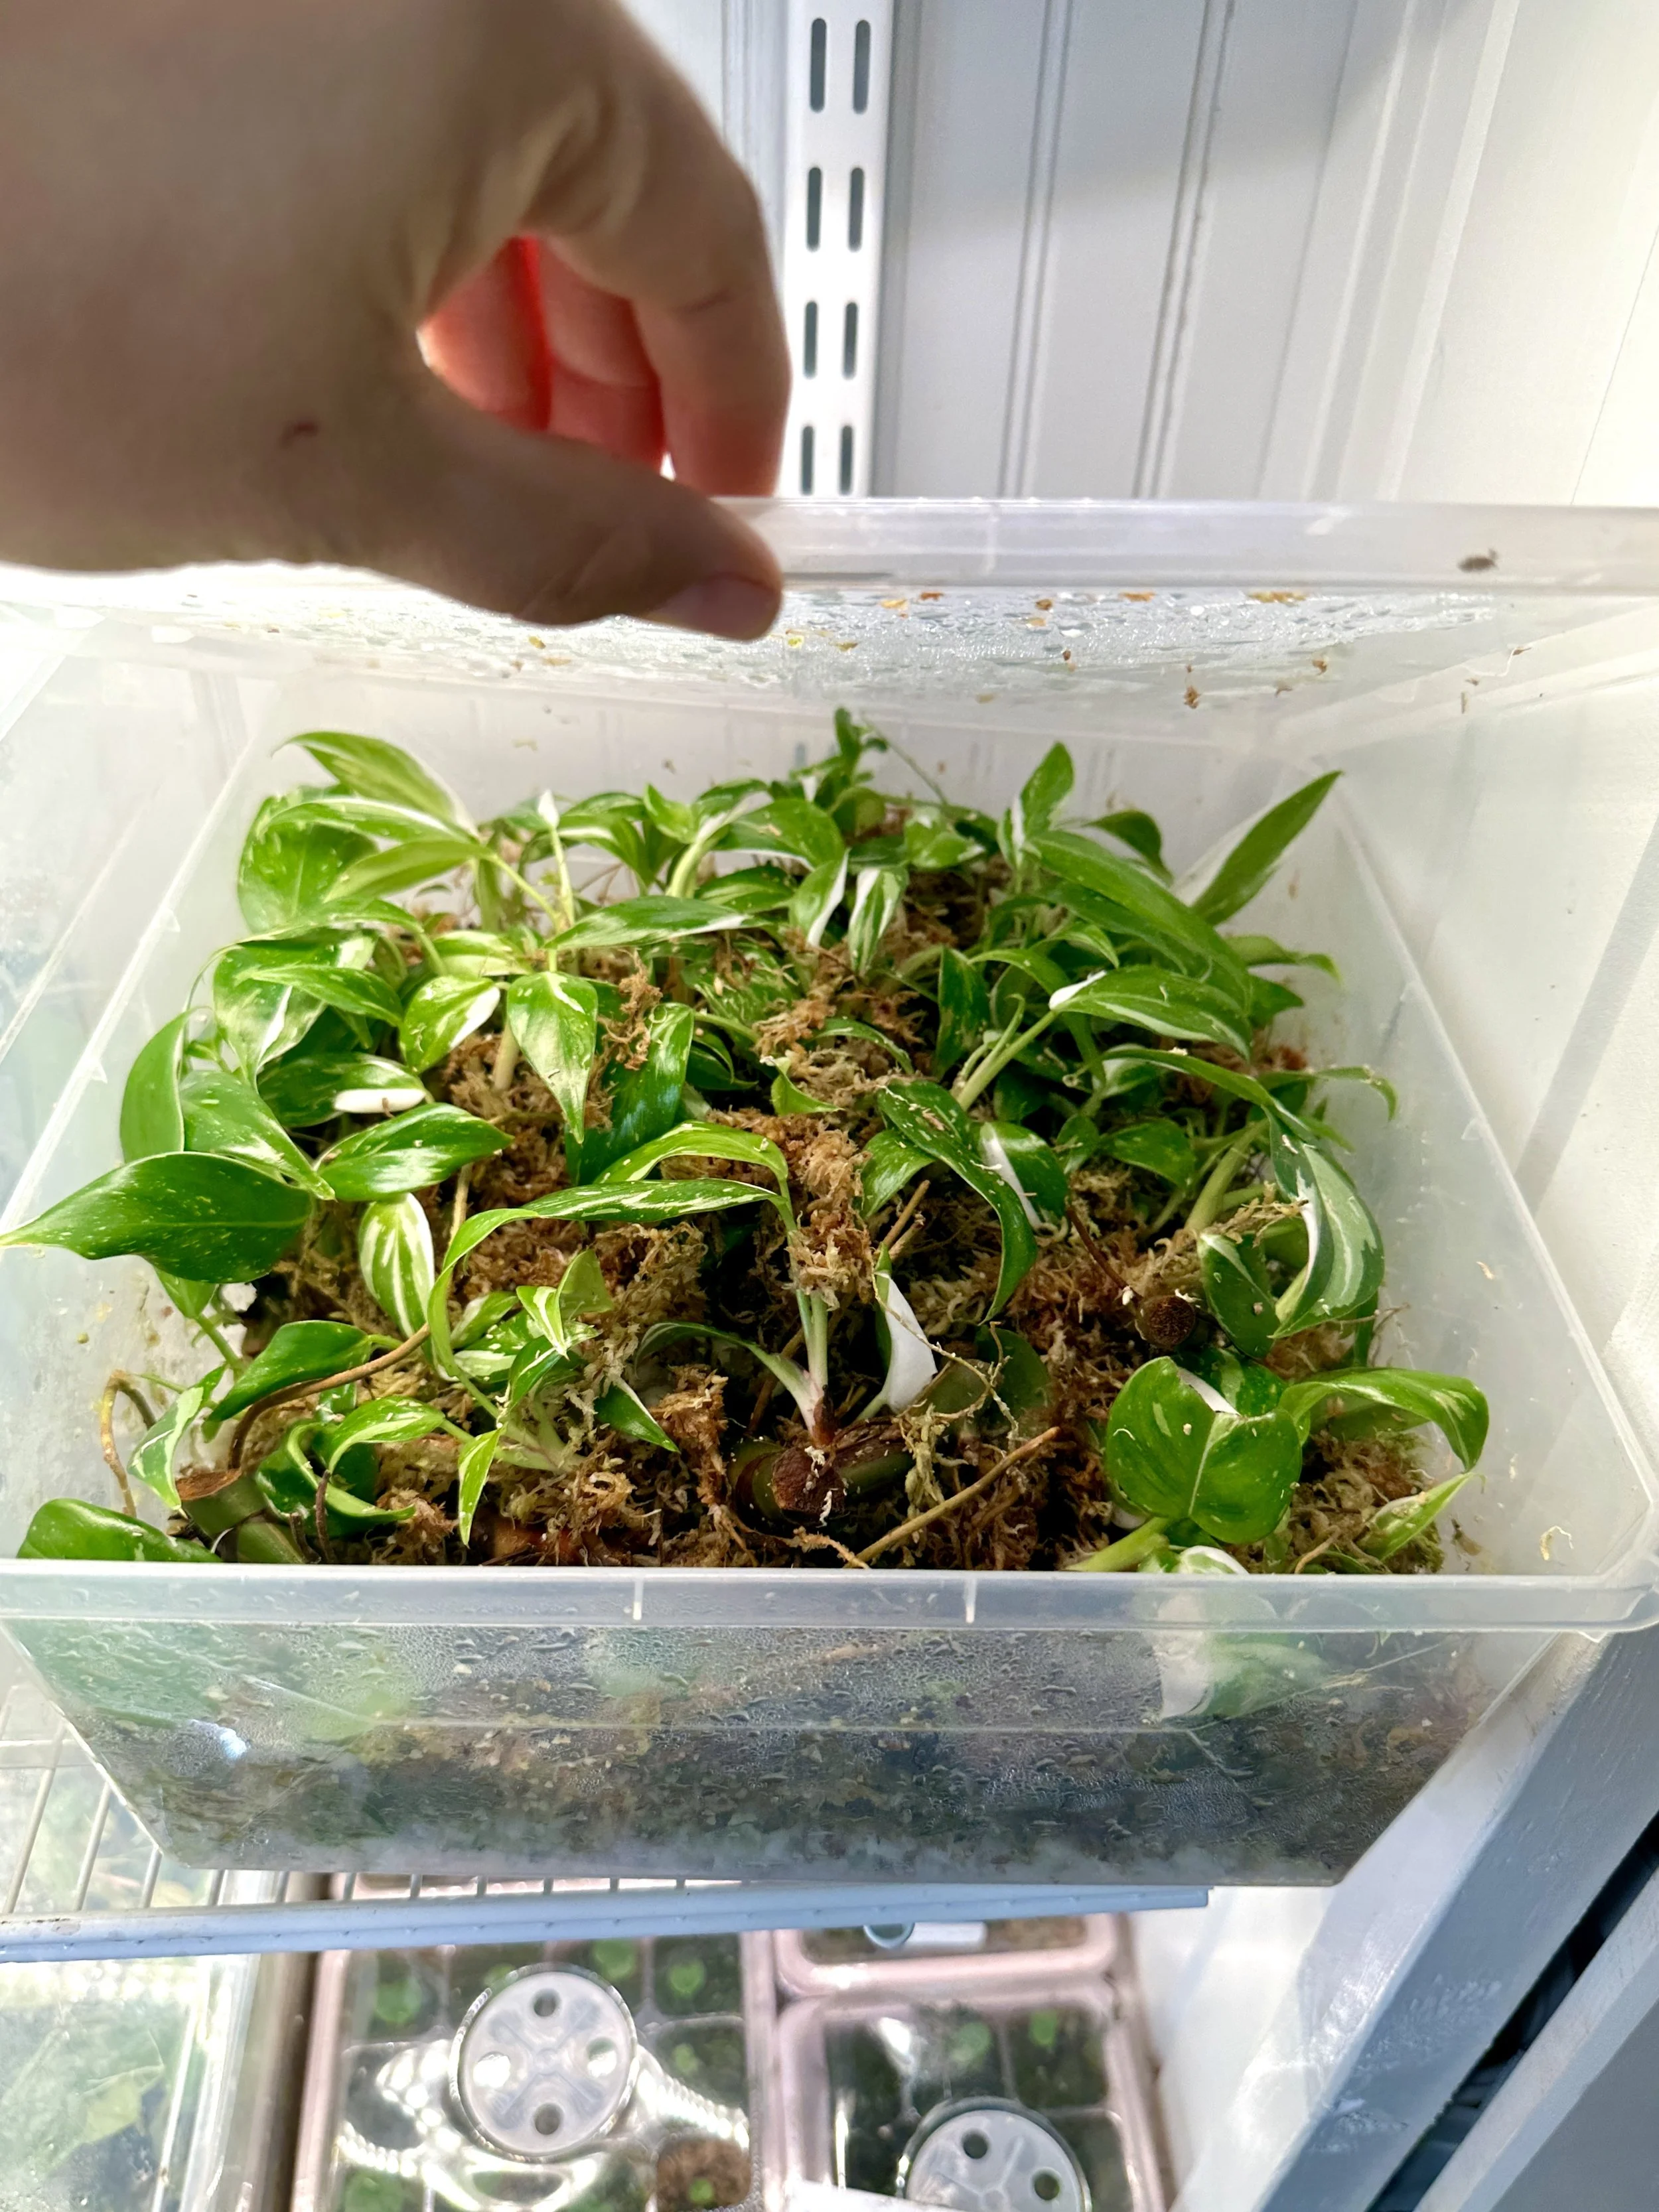
My Philodendron ‘White Wizard’ became too lanky, so I chopped it up into individual nodes, laid them on a bed of moist sphagnum moss in a prop box, and look how many individual plants I ended up with!
Potential observation: Is your succulent etiolated (stretched out for the light)?
Plant Example 1 :Your succulent is etiolated (stretched out) towards the light because it was not receiving enough light and looks nothing like the compact rosette it was supposed to look like. Highly offensive!
Some Suggested Propagation Fixes
Remove the leaves and lay them out and let new baby plants form.
Behead it. Move the plant into MUCH brighter light and allow it to grow again.
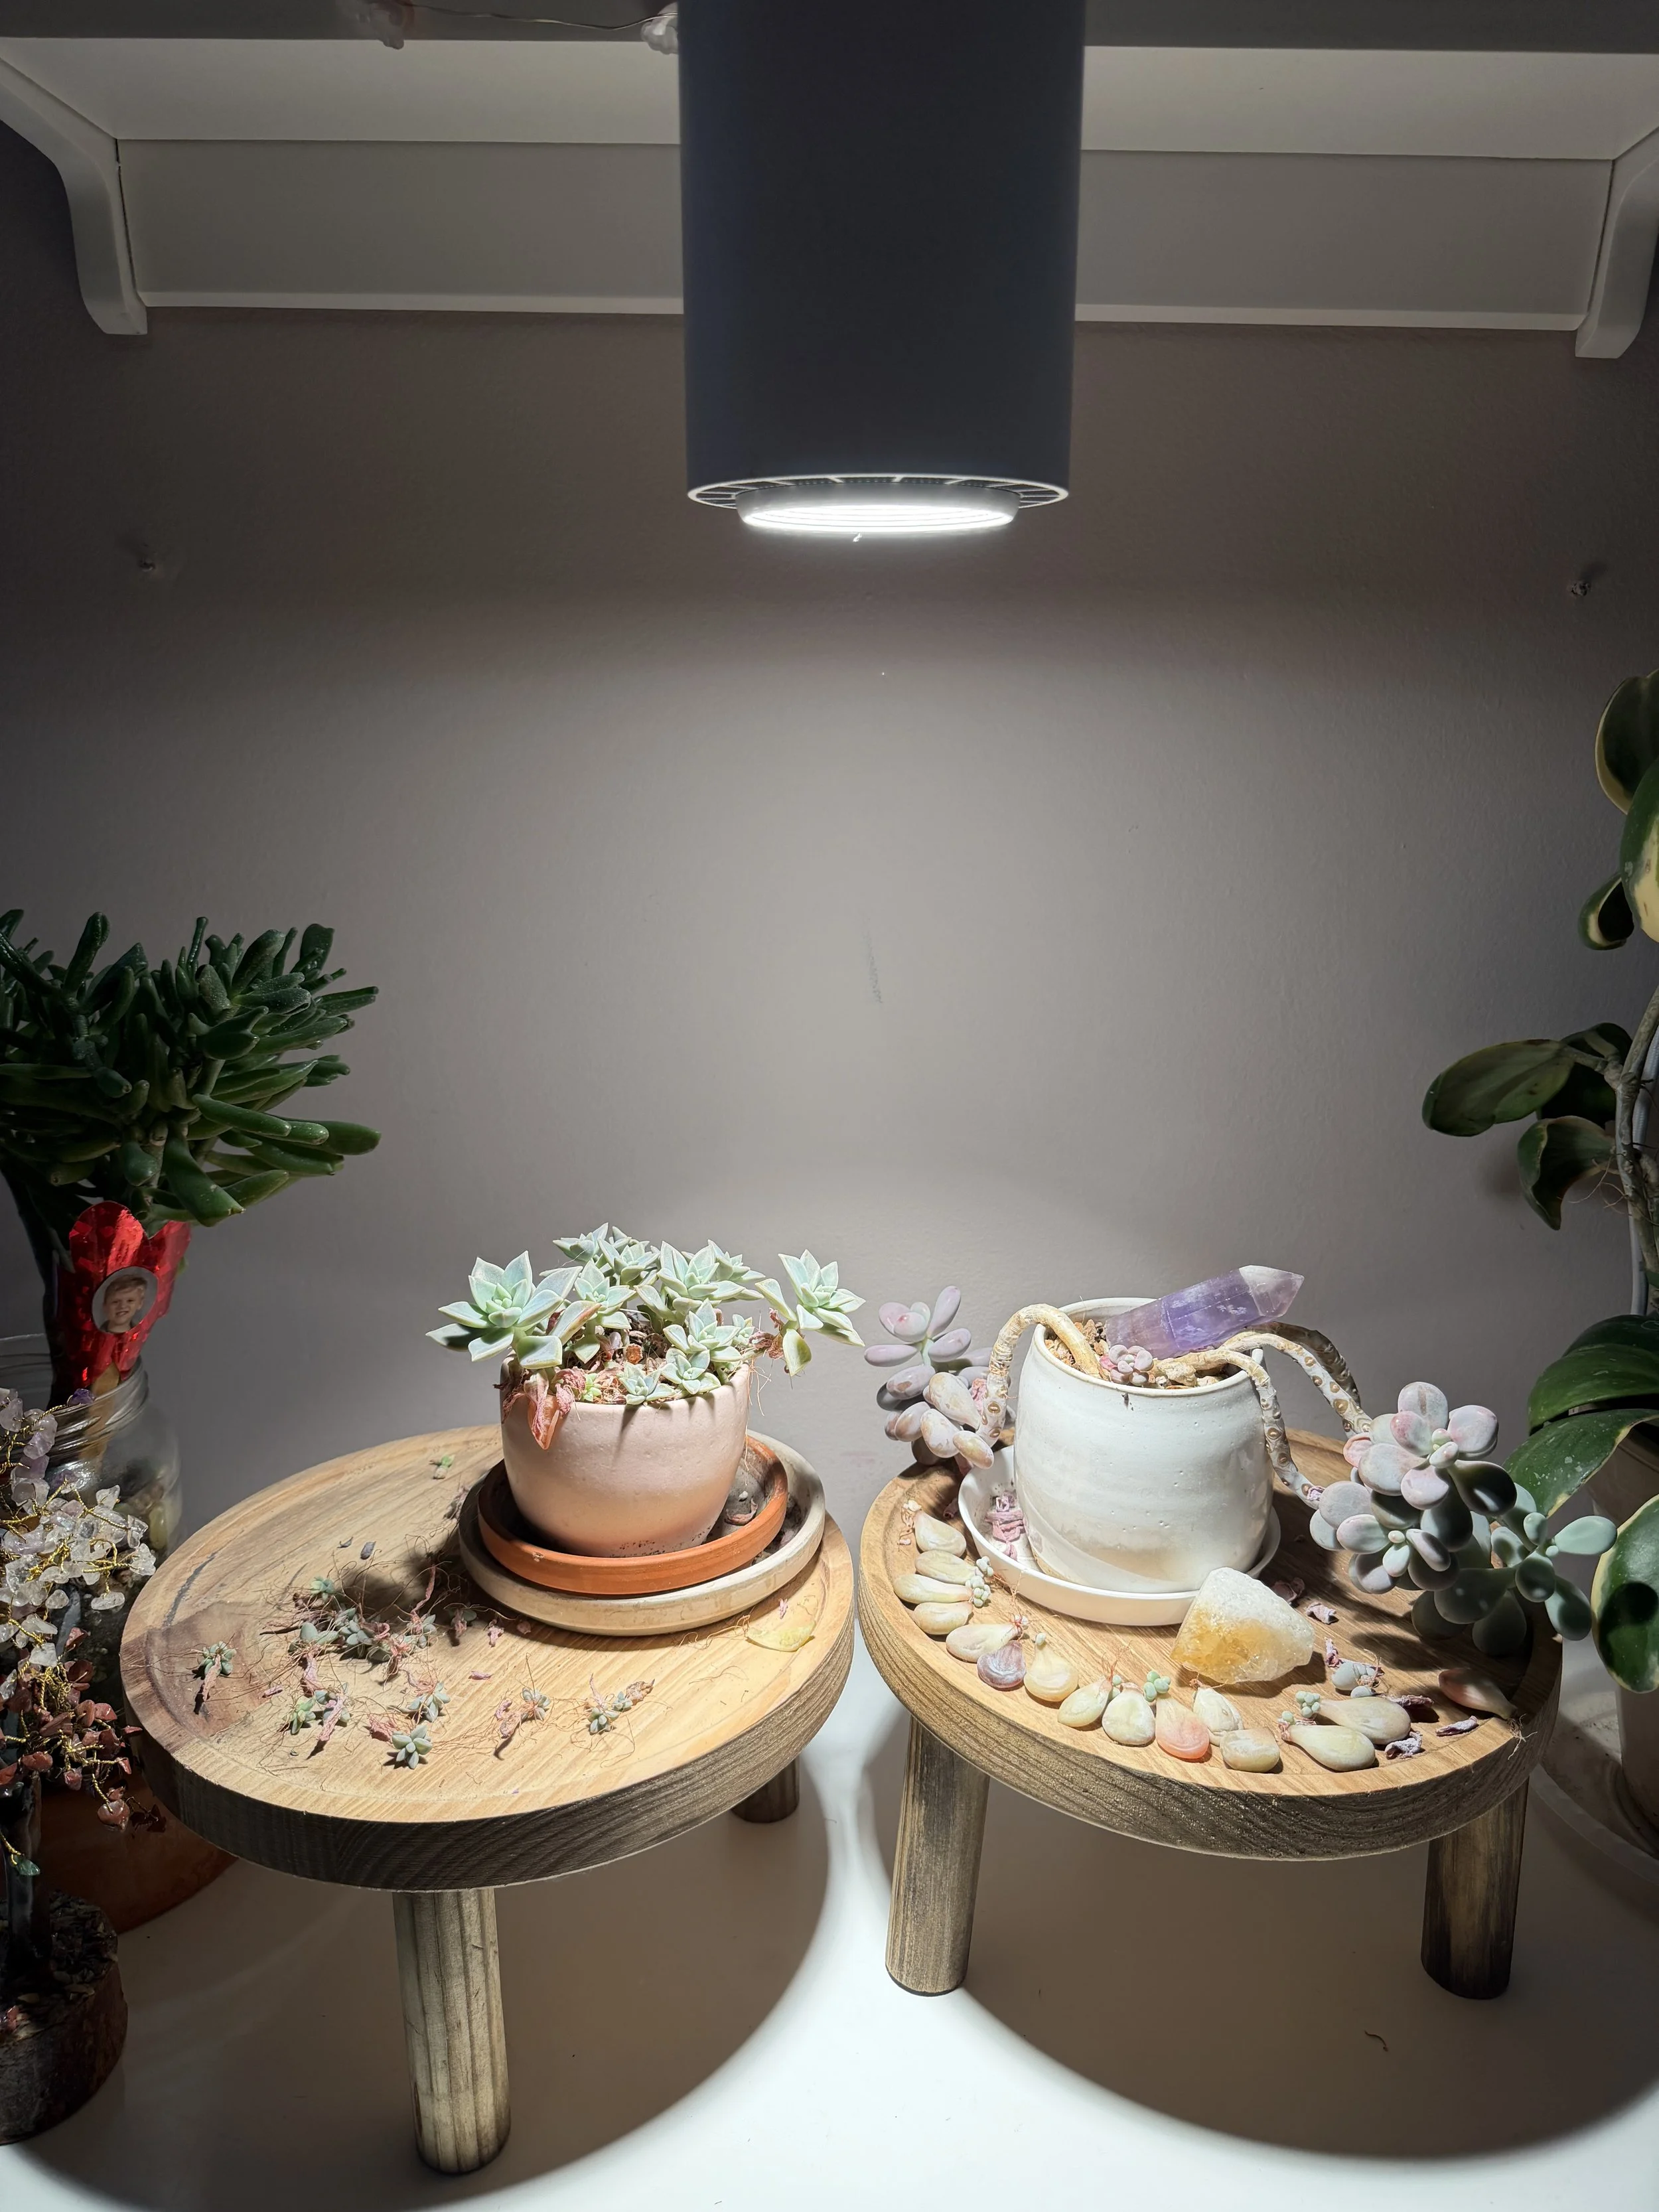
This is how close I now have to hang my favorite grow light, my Soltech large pendant, to my succulents in a dimly lit room in order to get them to grow and propagate well without becoming etiolated (stretched out). It took some trial and error to figure this out!
.
2. Step Two: Foliage Pest Inspection.
Grab a 45x magnifying glass with a light, or this handheld microscope that I love! Pest control is an entire blog article of its own, so I will just cover a couple examples here. But if you find pests, you must treat or toss your plant. Ignoring them is also an option, but know that the pests will only spread.
Plant Pest Example 1 : Your Alocasia has a typical case of the spider mites. Again.
Some Suggested Propagation Fixes
Remove any badly infested foliage and treat. If the plant is too far gone and you don't want to go through the hassle of treating it, you can recreate the Alocasia by corm! I show you how to do this step-by-step in my book.
Plant Pest Example 2: THRIPS. ON ANY PLANT.
Some Suggested Propagation Fixes
I don't trust thrips. They can hide in plant stems. I like to cut plants back as well as treat for thrips. Because of plant propagation, I know that cutting plants back results in bushier growth and branching out due to apical dominance!
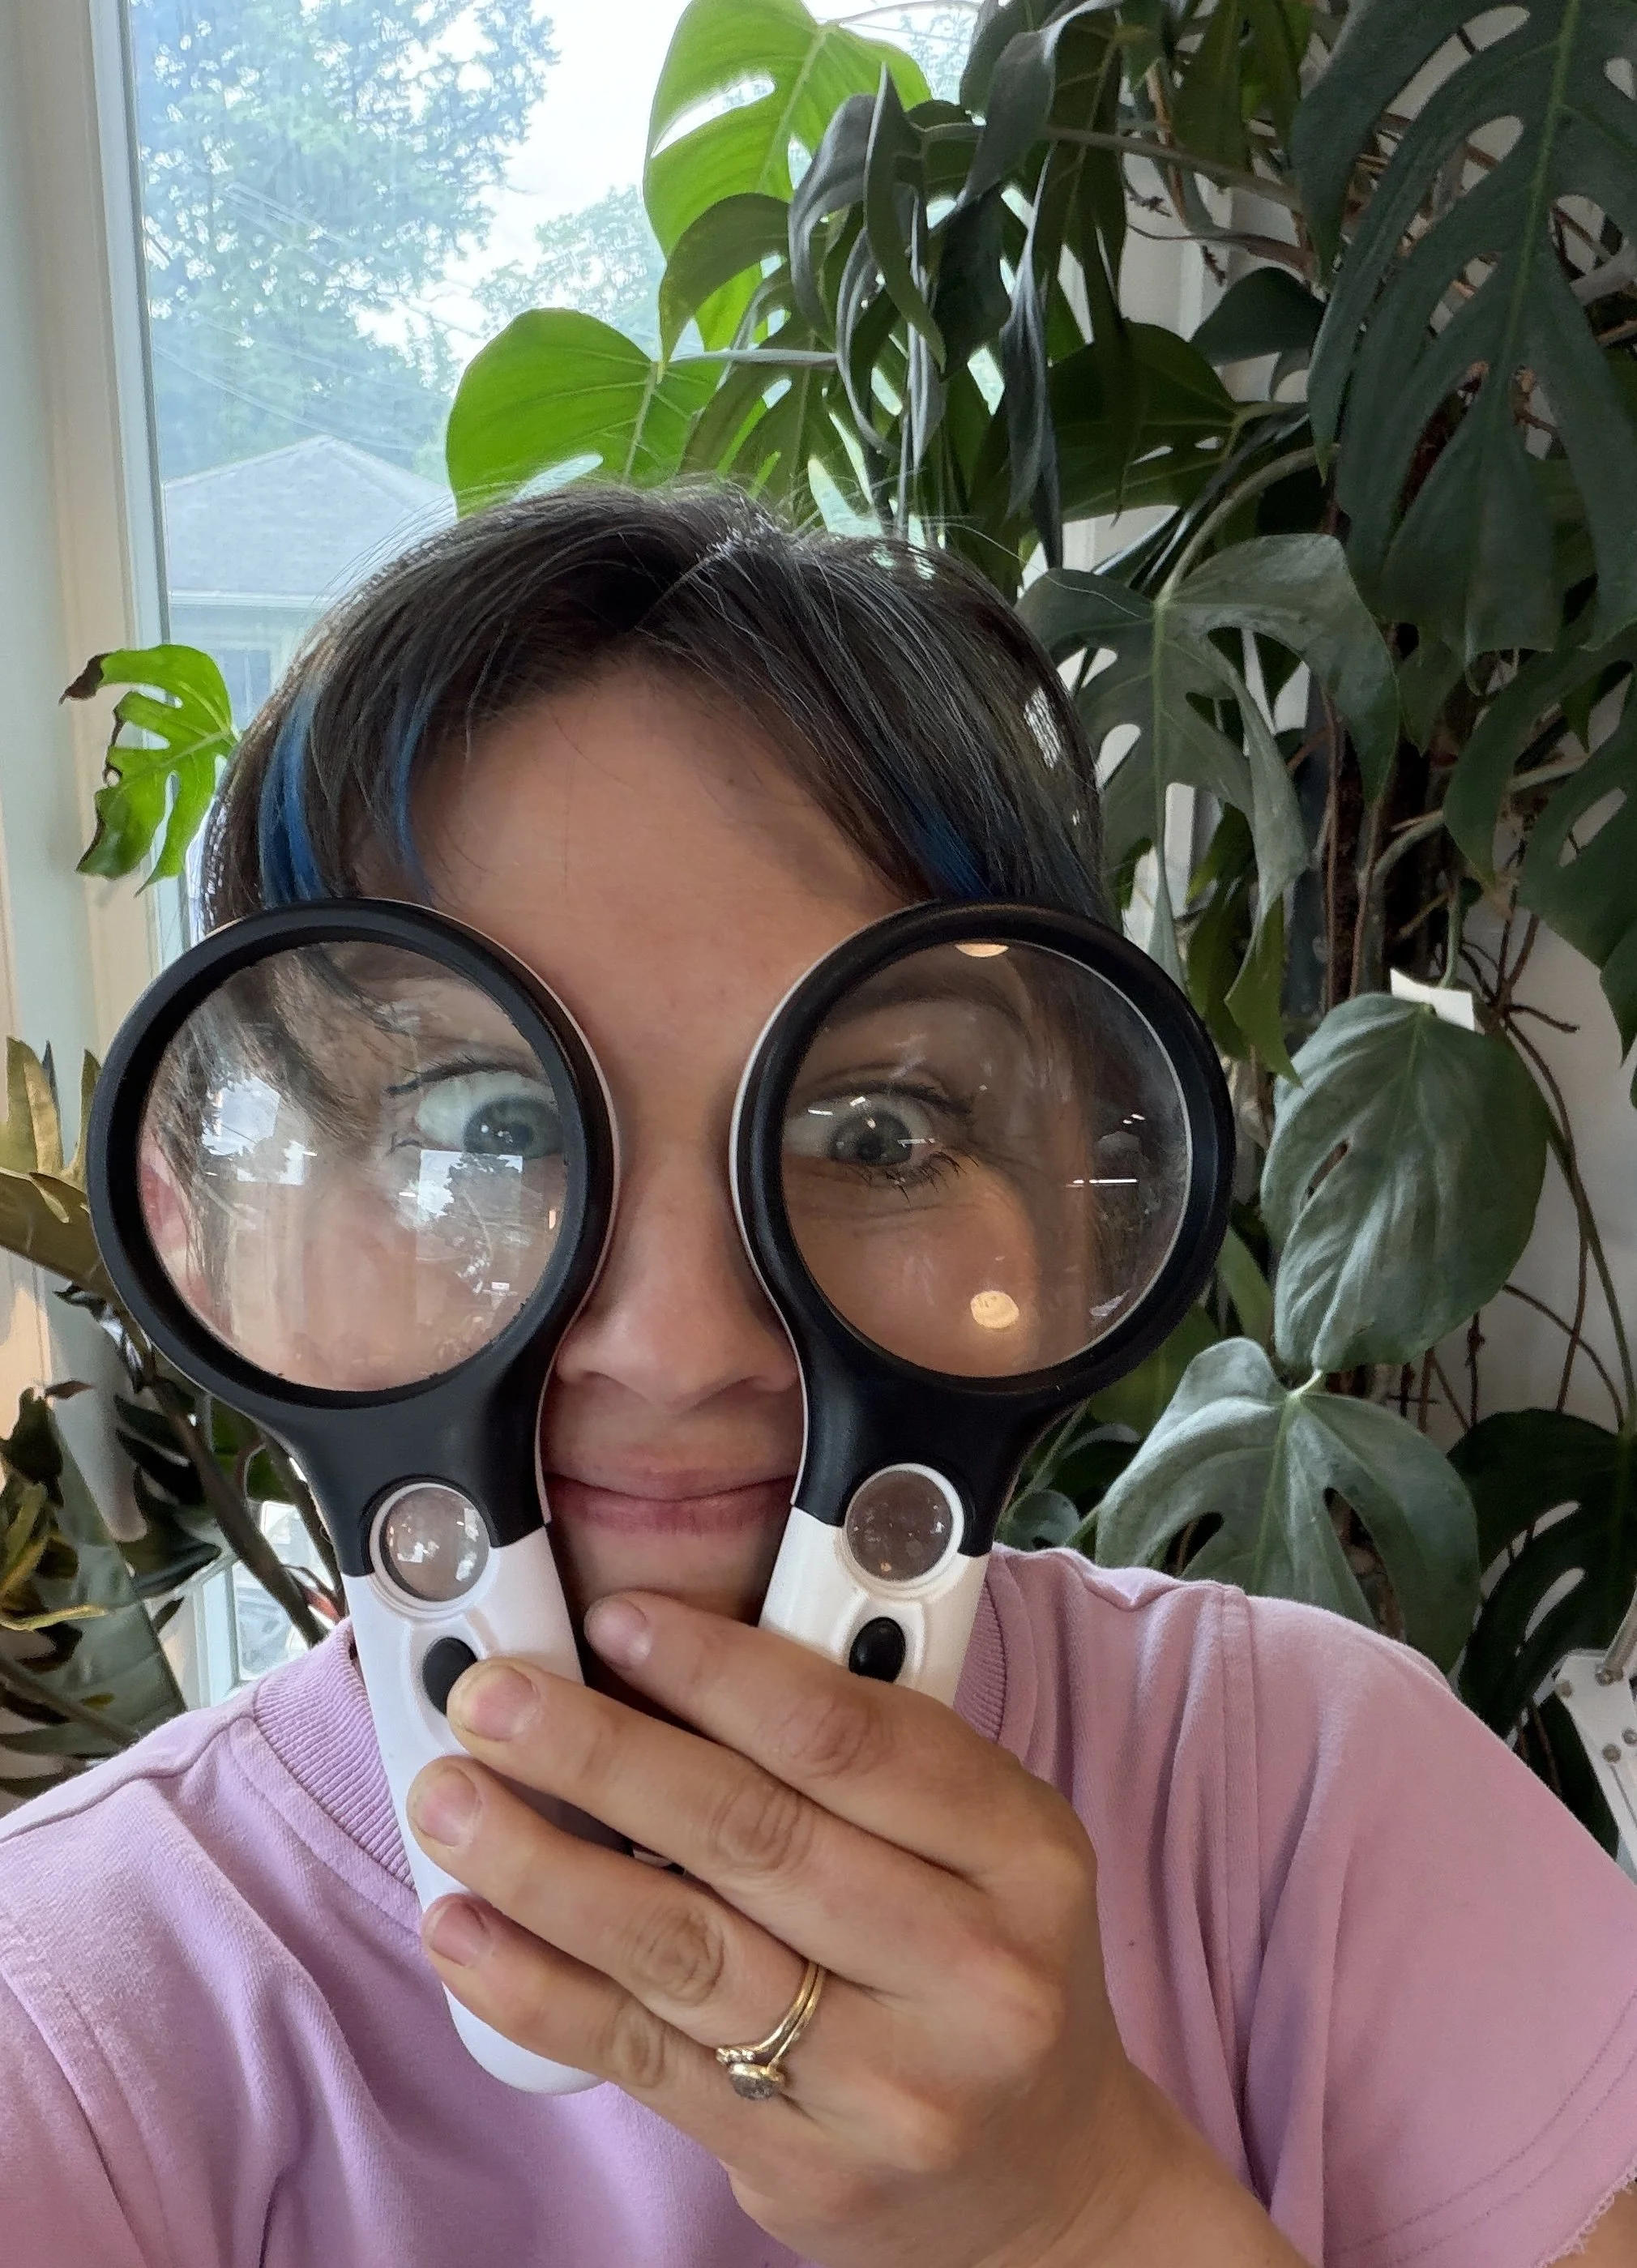
If you’re not using a 45x magnifying glass with a light, are you even trying to see the tiny mites that could be killing your plants (and are you looking this good doing it)?
3. Step Three: Foliage Health Checkup What are your plant’s leaves trying to tell you?
Brown crispy edges (but the rest of the plant is totally healthy):
Most likely the humidity in your home is less than the 70-90% that these tropical plants want, to thrive. And rightfully so, as anything above 40% humidity can cause mold in your home. In comes crispy leaf edges. Just accept them, or buy a grow tent!. This is the reason why I have four (yes FOUR) AC Infinity grow tents in my home use my code PLANTBABIES for 10% off or if on Amazon code ALLTHEPLANT). The humidity is 80% inside each one of them and I don’t get brown crispy edges on super sensitive tropicals. Hoyas, ZZ Plants, Snake plants, spider plants and Monstera Deliciosas are a few plants that I love that do not get crispy edges in low humidity if you’d like plant alternatives!

The reality of the older leaves on a sensitive purple-emergent Anthurium Raspberry Plum that thrives in high humidity being grown all year at 30% humidity. It’s not pretty, but it’s the best I can do right now. Sometimes we can only do the best we can with the space we have!
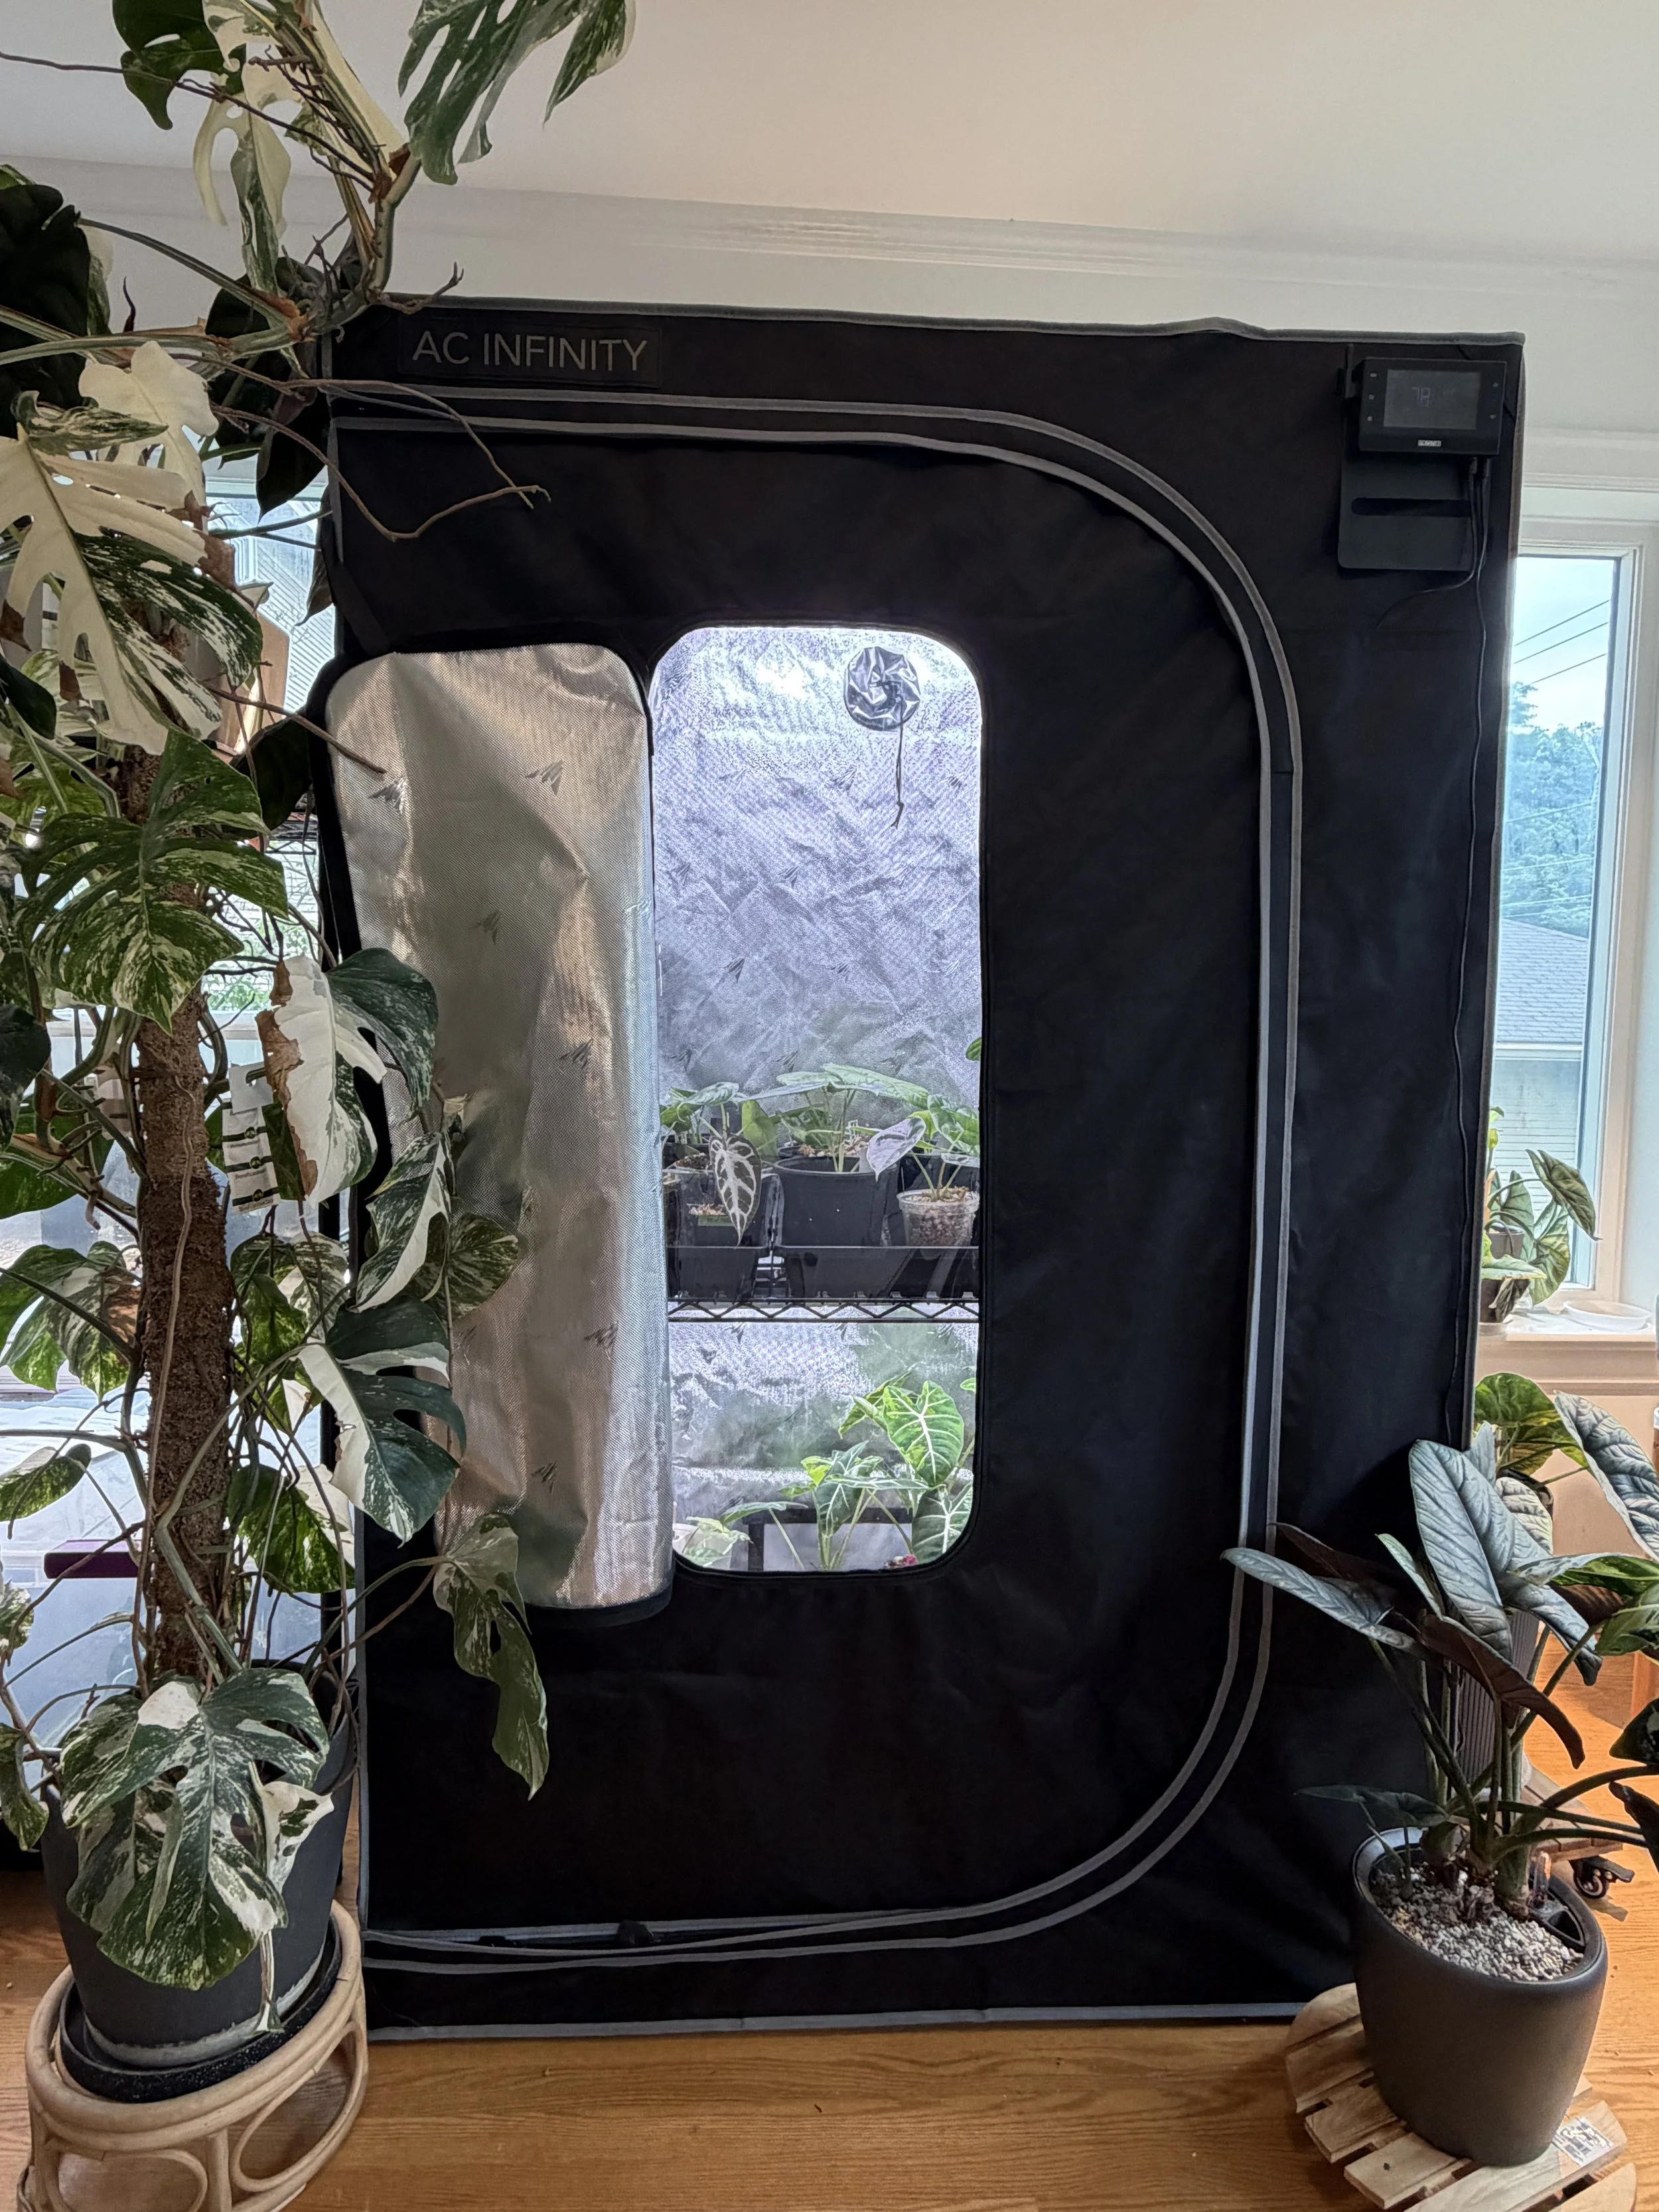
Tent one of four in my home. I put my small Alocasias in here.
Yellow/ Brown Leaves:
If the oldest leaves of your plant are turning yellow, and you don’t see pests with a magnifying glass, the yellowing is most likely natural, due to a process called leaf senescence. This is when old leaves die and the plant reabsorbs nutrients from those leaves. You can let those yellow leaves be. Your plant may just be telling you it needs a up-potting! Are the roots overly congested in the pot? Have you potted it up in the last year? If not, give it a fresh pot that’s only slightly larger than the root ball, with fresh potting medium.
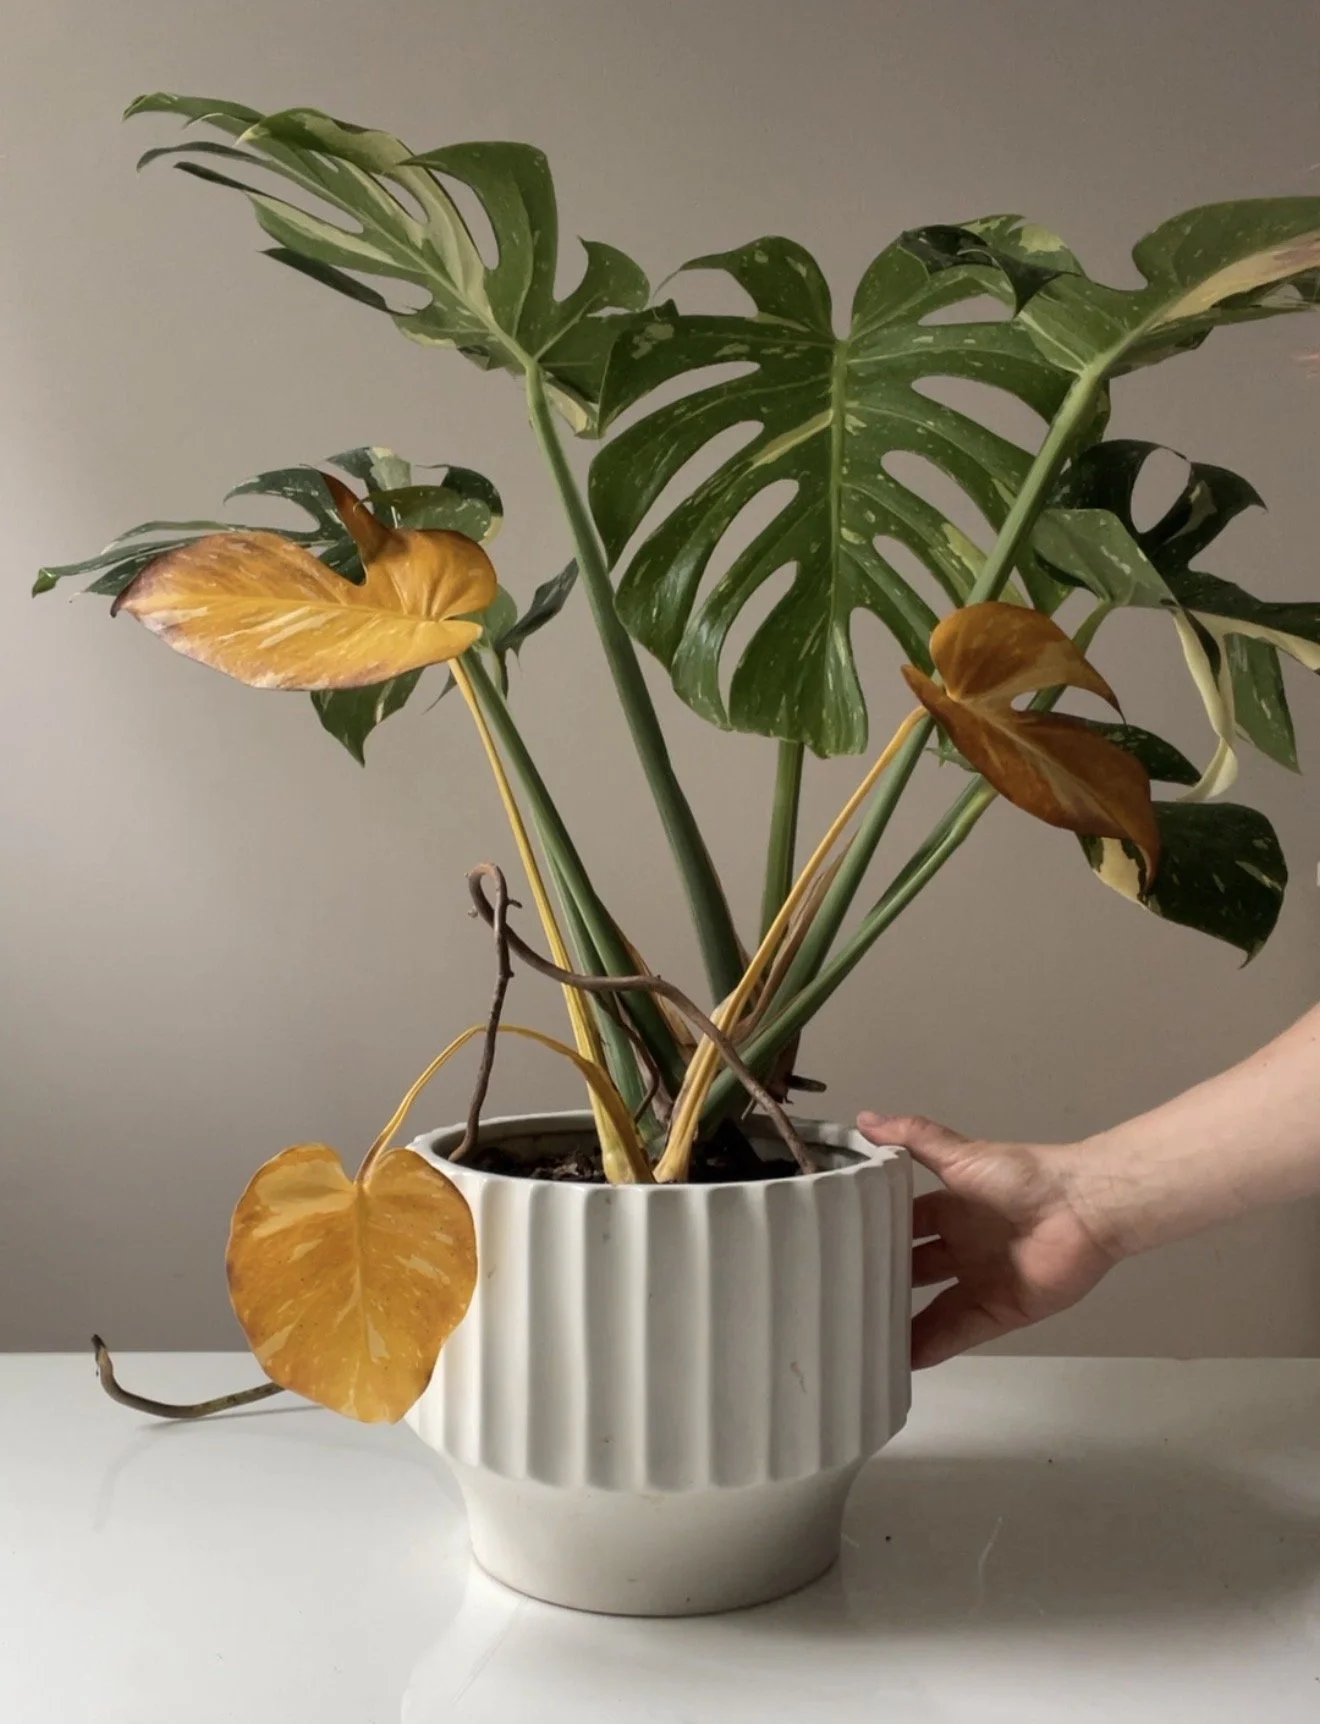
This monstera was in perfect health. It just needed to be potted up a size to be able to support more leaves at one time!
Brown / Yellow Spots / Weird Patterned Streaks:
However, if the newer leaves are emerging looking like a Salvatore Dali painting, is browning, has spots, or contains colors that represent a tie-dye t-shirt (and your plant is not a croton), you have a cause for some concern. Especially if you are growing in a high humidity environment where fungal and bacterial infections spread more readily. Evaluate your foliage for signs of over or under or inconsistent watering and nutrient issues. Take note of anything that looks like a bacterial or fungal outbreak or virus.*
The only true way to diagnose a virus, bacterial or fungal outbreak is by sending a leaf sample to a lab or ordering an at-home testing kit from a laboratory. However, right or wrong, many growers assume the presence of spotting typically associated with these infections as reason enough to start treating the plant at least preventatively with antifungals or antibacterial sprays (or if a virus, dispose of the plant). Others take a more conservative approach, remove infected foliage to prevent spreading, and then and work to control the environmental factors around the plant to see if that resolves the issue on its own. Leaves that are infected with pathogens, if that’s what you’re dealing with, serve as hosts for those pathogens to spread further. Therefore, if you truly think that your plant has a fungal or bacterial outbreak that may be spreading after confirming with other experts (ideally), cut off all suspicious foliage. Sterilize the cutting shears after each cut with a rubbing alcohol to avoid spreading pathogens.
* While these are much less common than nutrient deficiencies and environmental stresses, they can occur.
Light-Colored/faded leaves with weak growth:
Do you fertilize your plants? How often? At what strength? Do your plant look it needs to eat a giant steak? This could be why. I fertilize my houseplants all year, at full strength, with every watering and I never have a nutrient deficiency. You have to do what’s best for you - but use my example as a gage! We all need essential micro and macro nutrients to grow and unless you have bats, and rodents shitting in your houseplants on the regular inside your house (how many plants are fertilized in the wild), your plants need you to fertilize them manually.
Withered Leaves:
If the leaves are wrinkled, BUT the plant is well watered, more than likely the roots are damaged and not able to absorb water – time to check the roots! This leads us to….
4. Step Four: Root Inspection
Take your struggling plant out of its pot to assess the root ball and check that the roots are white to cream in color, or the color they should be depending on the species. Some plants will have pink or red roots. If they are black or very dark brown, however, they are most likely dead.
Next, check if the roots are firm with a healthy outer sheath. When you gently run your thumb and forefinger along a single root, it should remain intact. In Alocasias and Hoyas for example, it is common for roots to remain cream in color even when rotted, but when you gently run your thumb and forefinger along a damaged root, the outer sheath will slide right off. What are your plant’s roots trying to tell you?
ROOT DIAGNOSTIC CHART
Firm and white - Healthy
Thin and black or brown -Rotted
Black or brown and mushy -Rotted
None, as in they already melted off -Rotted AF
White but the outer sheath slides off when you run your thumb and pointer finger along the root- Rotted
White or tan and shriveled- Desiccated / overly dried out
White spots / white powdery insects on the roots and inner pot- Root Mealybugs- BURN EVERYTHING. Kidding. (Remove, or keep and treat)
Plant Example: You forgot to water your Hoya for a couple months and now the roots are all desiccated / dried up.
Some Suggested Propagation Fixes
Cut the roots off and cut off the healthy stems and propagate in stratum or sphagnum moss.
Throw healthy stems without roots in a prop box with sphagnum moss.
Plant Example: The roots of your Monstera are brown and slimy.
Some Suggested Propagation Fixes
Cut the plant into individual nodes and throw them in a prop box.
5. Step Five: Remove the rot (and callous it if a rhizome)
Your goal here is to cut off every part of the plant that is showing signs of rot. If there are only a select few roots that have rot, cut them all off with a sterilized knife or cutting shears. If any part of the above or underground stem (looking at you Alocasias and my Hoya here) is showing signs of rot, cut that part of the stem completely off. It’s a good idea to sterilize your cutting shears with rubbing alcohol between cuts if making multiple cuts in areas that contain rot, to avoid spreading pathogens.
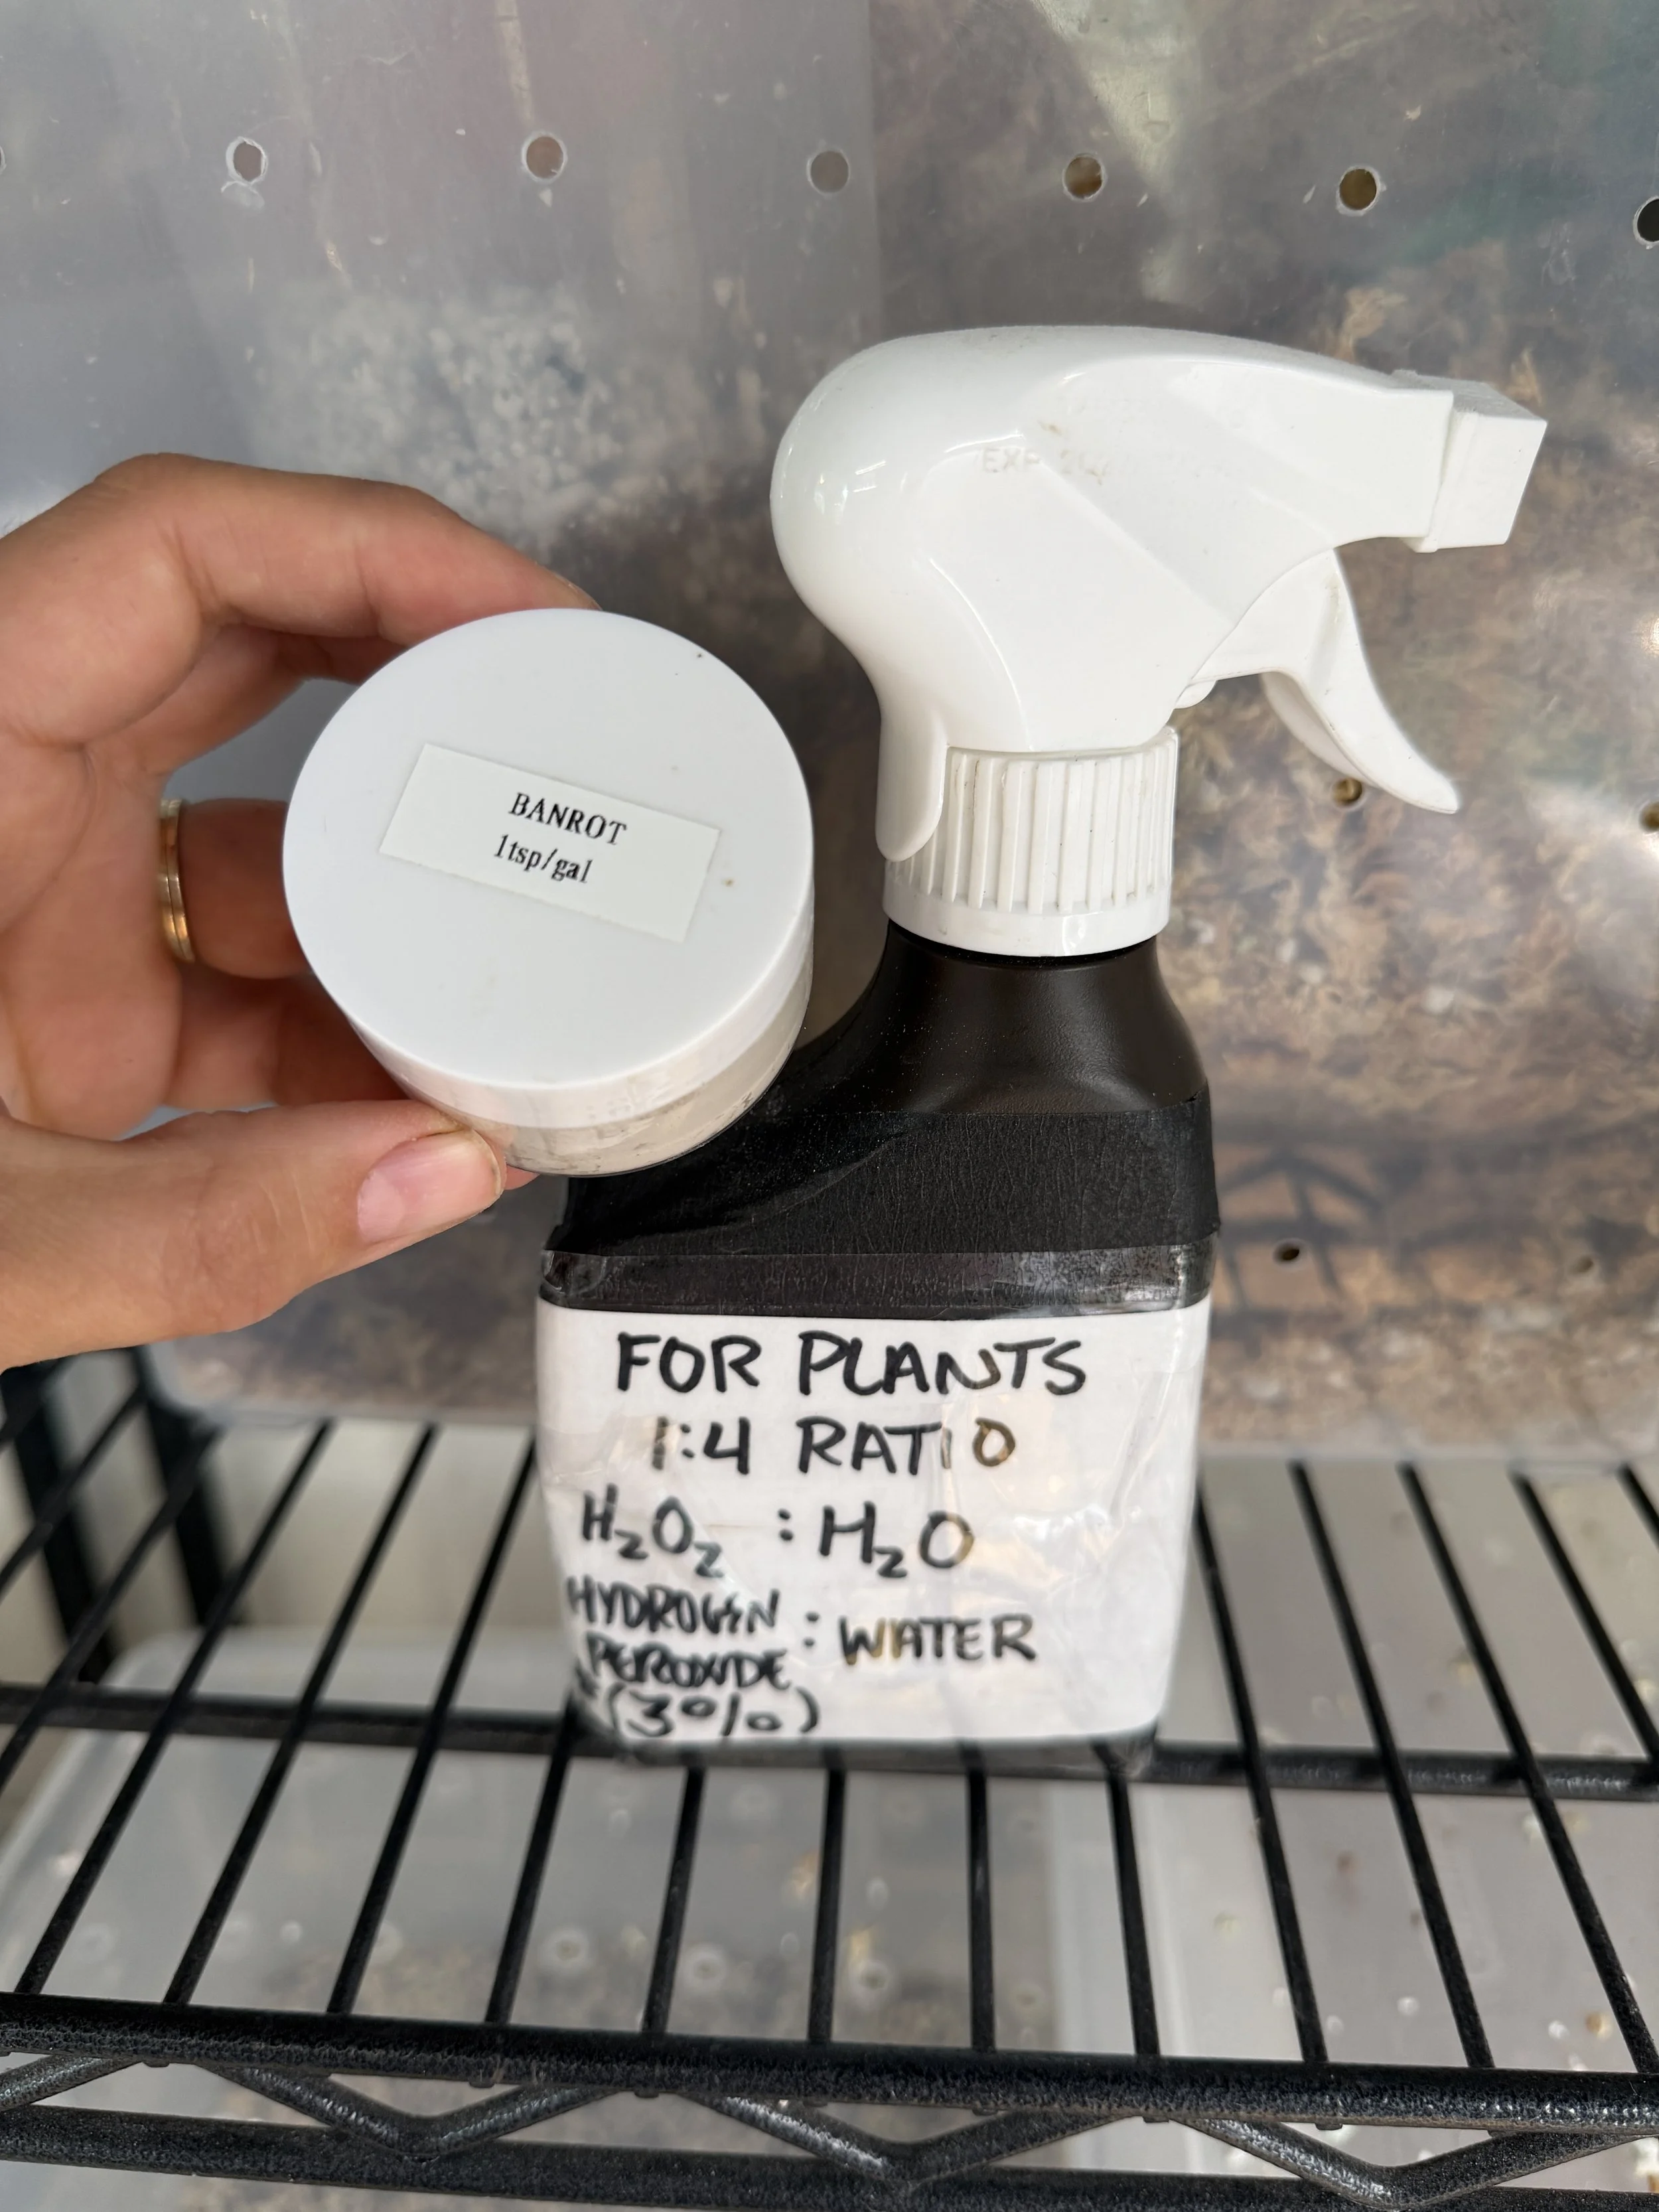
6. Step Six: Potentially Treat the Rotted area
If you have a very valuable aroid, with a rotting stem/ rhizome. you may want to consider using a fungicide like Banrot after removing all of the infected roots. Banrot is a professional-grade fungicide powder. It’s not cheap, but it’s effective and what commercial growers use. Always use PPE (mask and gloves) when using the powder as the label advises. One bag will last you a lifetime of propagation. It’s effective at stopping the pathogens that often are responsible for causing root rot. Follow the instructions on the label to give your plant a little soak. Some people use diluted 3% Hydrogen peroxide in water in a (1 part hydrogen peroxide to 4 parts water) and soak their plants roots for 15 minutes prior to regrowing roots instead. Using cinnamon is not scientifically proven to work. In Thailand they use red lime powder to prevent rot on open plant wounds. I have no experimented with this yet, but I am intrigued.
7. Step Seven: Regrow roots
Place your fresh cuttings in the substrate of choice. If you need help choosing, take a look at Chapter Three of The Ultimate Guide to Houseplant Propagation, section two where I thoroughly detail all of your choices for substrates and the pros and cons of each.
If you can place your set up in a prop box, cabinet, humidity chamber or near a humidifier during this time period that would be beneficial to increase humidity and speed up results. If you find that mold starts to grow however, lower the humidity and/or spray the top liberally with that diluted hydrogen peroxide solution shown above.
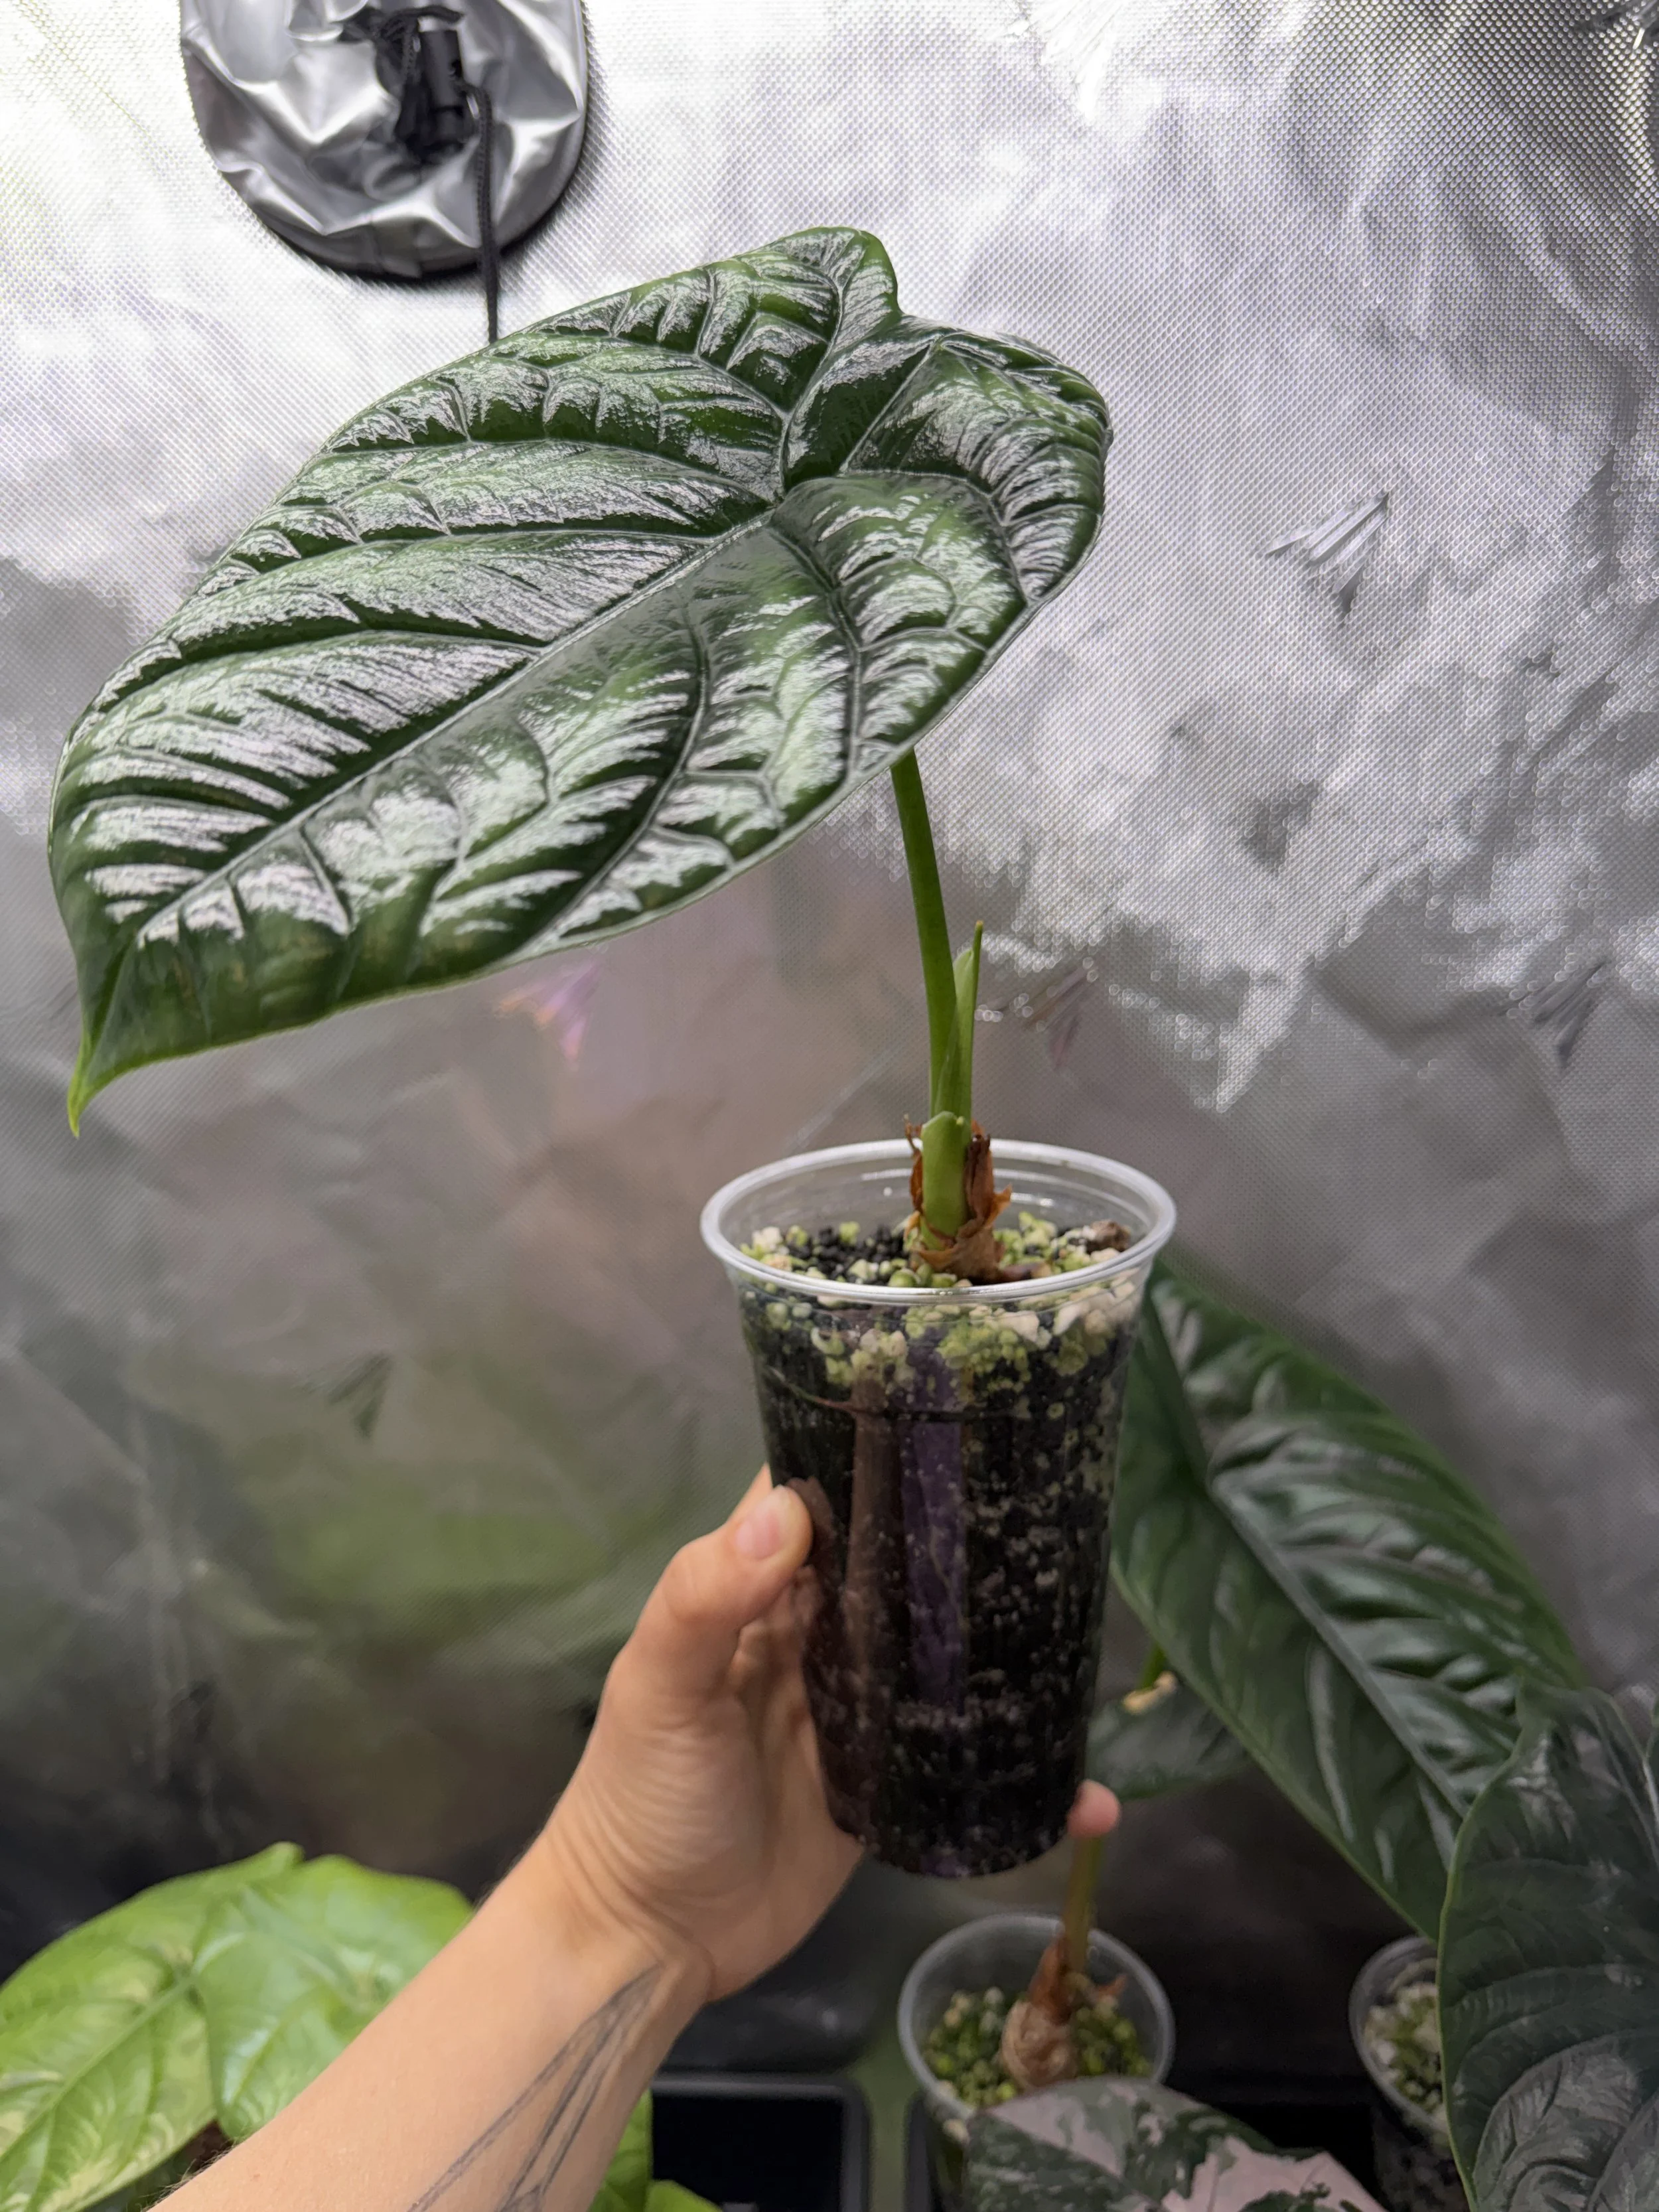
My Alocasia Sinuata’s roots completely rotted / the plant perhaps went into dormancy. I will have none of that. I did all of the steps above, then place the bare, leafless rhizome into a cup of fluval stratum mixed with perlite. I filled the cup 1/3 of the way with water. After a few months the plant is fully rooted with a gorgeous new leaf.
8. Step Eight: Repot (if you want)
When your new roots are at least 1.5 inches long you can pot up your plant into its final destination ! Optional: use some rooting hormone gel on the roots to maximize their success. If your propagation was in high humidity, slowly acclimate your finished plant to a lower level of humidity. Moving it back to low humidity it too quickly may shock the plant.
9. Step Nine: Reflect

Reflecting on the plant mistakes I’ve made and the meaning of life. Also wondering…If Spotify says I’m a top 1% listener of The 1975 that means so are my plants…and so this means Alocasias are pretty emo which definitely checks out if you know Alocasias….
You fixed your plant. Congratulations. But you didn’t fix the root of the problem (pun intended). Now is the time to ensure that whatever got you here doesn’t get you here AGAIN. Adjust your environmental and growing conditions this time to ensure for proper lighting, lots of aeration in the substrate, proper moisture, humidity, nutrients and perhaps consider the integration of beneficial mites to prevent pest outbreaks! But alas that’s a discussion for another day….and again don’t forget to check out my podcast episode with plant expert and fellow author Jane Perrone on this exact topic!
I hope this helps you save a green friend.
XO
Lindsay
“What happens if my plant is on the brink of death and I’m ready to read it their last rites though?”
PROPAGATION CAN HELP HERE TOO!
As long as you can find viable nodes with meristematic plant tissue on your plant, you can keep your plant alive. That is to say, as long as you are able to find and separate plant tissue that is healthy and able to grow new roots and shoots, and you are able to cultivate this plant tissue, you can regrow your plant anew! And that is basically what houseplant propagation is all about!
TO BE CONTINUED…
(Other topics to cover: Hydrogen Peroxide, Apical Dominance, Banrot, Cinnamon)